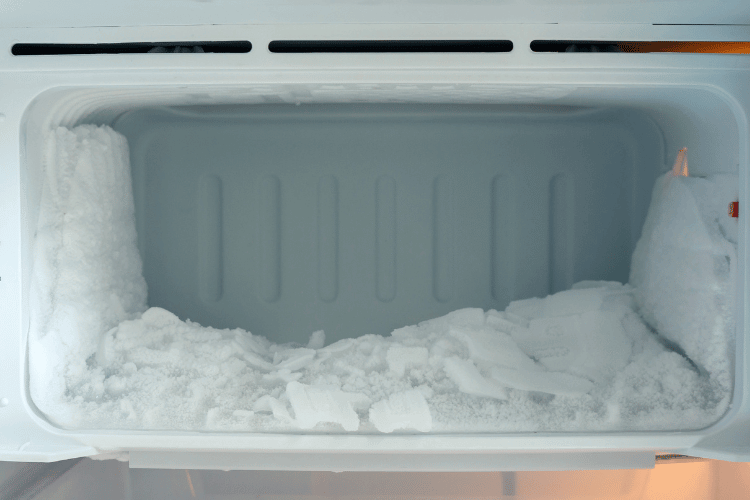
Walk-in freezers are massive cooling units that undergo regular defrosting cycles to prevent, you guessed it, frost.
You might think a bit of ice buildup is no big deal, but it can be a real headache over time if you ignore it.
Ice formation on the freezer floor is a safety hazard and forces your fridge to work harder. And you know what that means—sky-high energy bills!
But don’t worry; this handy guide will teach you how to remove ice from walk in freezer floor in easy-to-follow steps. Plus, we’ll give tips and techniques to prevent built-up frost.
Method 1: Manual Scraping
Using a plastic spatula, scrape away small areas of ice at a time. Toss the loosened pieces into a container and discard them properly.
Take care not to apply excessive force to avoid damaging the surface of the freezer floor.
On the downside, this approach can be time-consuming for larger refrigeration units. For commercial fridges, explore other methods to save time and labor.
Method 2: Using Warm Water
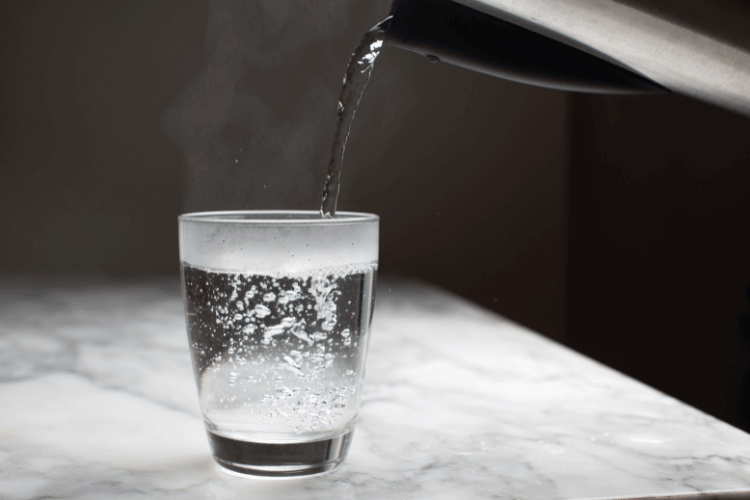
Slowly pour warm water over the ice section by section and use absorbent towels to soak up the melted ice.
Or, you can dip cleaning cloths in a bucket of hot water and apply them to the ice using a pair of tongs.
As a word of caution, never let excess water pool on the floor, as it’ll quickly refreeze. After de-icing, leave the floor clean and dry by giving it a final wipe-down.
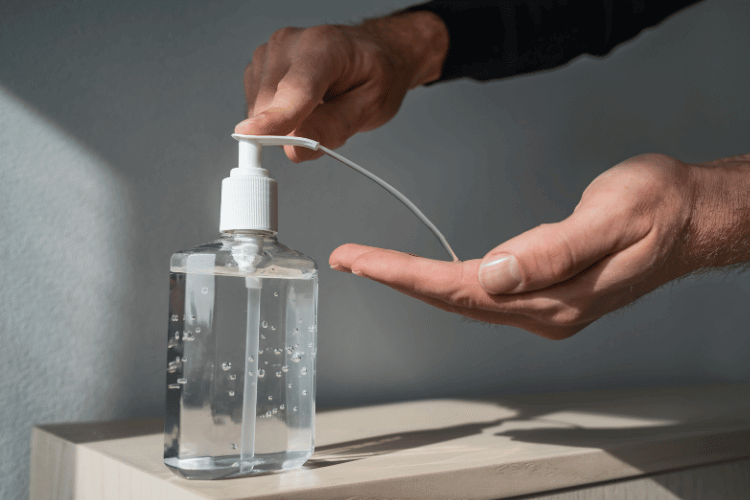
Method 3: Using Rubbing Alcohol
You can de-ice your freezer floor using a simple DIY recipe. For every half-gallon of hot water, add ¼ cup of rubbing alcohol and six drops of mild dish soap. Then, follow these steps:
- Pour the homemade solution onto the floor and wait for the ice to bubble up and melt.
- Scrape away any remaining ice with a plastic spatula.
- Wipe away any lingering alcohol smell using a clean rag dipped in soapy water.
- Rinse with a wet cloth and dry.
You can also put this mixture in a spray bottle to treat ice buildup on freezer walls. Just make sure to cover the food to prevent contact before spritzing away.
This hack works because rubbing alcohol has a lower freezing point than water. It reduces the melting point of ice and breaks it down faster.
If the ambient temperature is too cold and causes the melted ice to refreeze, consider adding more alcohol.
Method 4: Using a Hammer
For thicker ice on concrete floors, break the ice into chunks with a dead blow hammer or hammer drill. Wear protective gear like gloves and safety goggles during the process.
When using a hammer, strike the ice with firm but controlled blows. Meanwhile, chip away the ice with your hammer drill equipped with a chisel bit.
Then, shovel the broken pieces and dump them in a large container.
Method 5: Using a Heat Source
Another effective way of melting ice on your freezer floor is using a portable space heater or steamer. The direct application of heat speeds up the melting process, allowing for easier removal.
Set your device to a suitable temperature that can produce enough heat to melt the ice without affecting the food stored in the freezer.
Once the ice has melted, dry the area thoroughly.
How to Prevent Ice Buildup on Walk-In Freezer Floor
Ice build-up in freezer units can happen for several reasons but points to a usual culprit: air moisture. Humid air can find its way into your freezer through different means, including:
- Storing hot food items
- Excessive opening of freezer doors
- Problematic door closers due to faulty hinges, rollers, or hydraulic system
- Damaged rubber seals
- Worn-out insulation panels
Excess moisture can cause freezer burn, so watch for those telltale crystalline patches on your food supplies.
Here are some practical solutions to prevent frost buildup on your freezer floor:
- Keep the freezer aisles clean at all times using freezer-approved cleaning products for food safety.
- Close the freezer doors when not in use to prevent the unnecessary entry of warm air.
- Air leaks lead to ice formation, so check the rubber strip around the freezer door for damage. Install a replacement gasket for your particular model to ensure a tight seal.
- Liquids freeze quickly, so take care of freezer spills as soon as you spot them.
- Inspect the condenser coils and evaporator fans for dirt, debris, and oxidation. Clearing any obstructions ensures proper airflow and efficient operation of your freezer unit.
- Frost build-up near the evaporator coil indicates a fan delay failure or a malfunctioning defrost timer. Call your freezer technician immediately.
- If you notice a puddle of water around your freezer drain lines, schedule it for professional cleanup and inspection.
- Install self-closing hinges to ensure your fridge is shut whenever someone walks out.
- Hang vinyl strip curtains above the door on the interior side to serve as a barrier when the freezer door is open.
- Place a dehumidifier by the door to reduce the chances of humid air entering the freezer when it’s open.
How to Address Stubborn Ice Buildup on Walk In Freezer Floor
If the issue persists even after covering all your bases, the trouble may have something to do with the insulation panels.
Older freezer models, which may not meet current efficiency standards, often contain porous wood that deteriorates over time. This degradation causes water vapor to permeate the freezer. Unfortunately, the only way to confirm this is by disassembling the freezer unit.
Bad insulation leads to freezer temperature fluctuations and increased energy consumption.
In such cases, investing in a new walk-in freezer may be more cost-effective in the long run. So, compare the price of a new unit with the ongoing costs of running a defective one.
Wrapping Up
A clean walk-in freezer floor is crucial for safety and efficiency. Learning how to remove ice from walk in freezer floor ensures a hazard-free and smooth operation of your freezer unit.
Remember to wear appropriate protective gear and exercise caution when working with tools or hot water.
For a thorough treatment, seek the help of an appliance repair professional.
Lastly, don’t overlook the importance of regular cleanup and routine maintenance checks. Keep your freezer clean and extend its lifespan for years to come.

When I gave birth to my first kid, I could no longer skip dinner, or just cook easy meals.
This is what inspired me to create EatThinkBeMerry.com.
I hope you will get to find your own inspiration for your next meals and have as much fun as we do looking out for you!
- How To Fill a King Cake With Bavarian Cream - April 15, 2024
- Dealing With Mold on Oyster Mushrooms - April 9, 2024
- What Meat Goes With Pumpkin Ravioli? (Ravishing Ravioli Combos) - March 15, 2024